It took some time, some finagling, and a lot of silicone but I finally have a sink, a faucet, and for the first time since I moved in… a garbage disposal.
Presenting my Home Depot finds installed in all of their amazingly beautiful glory!
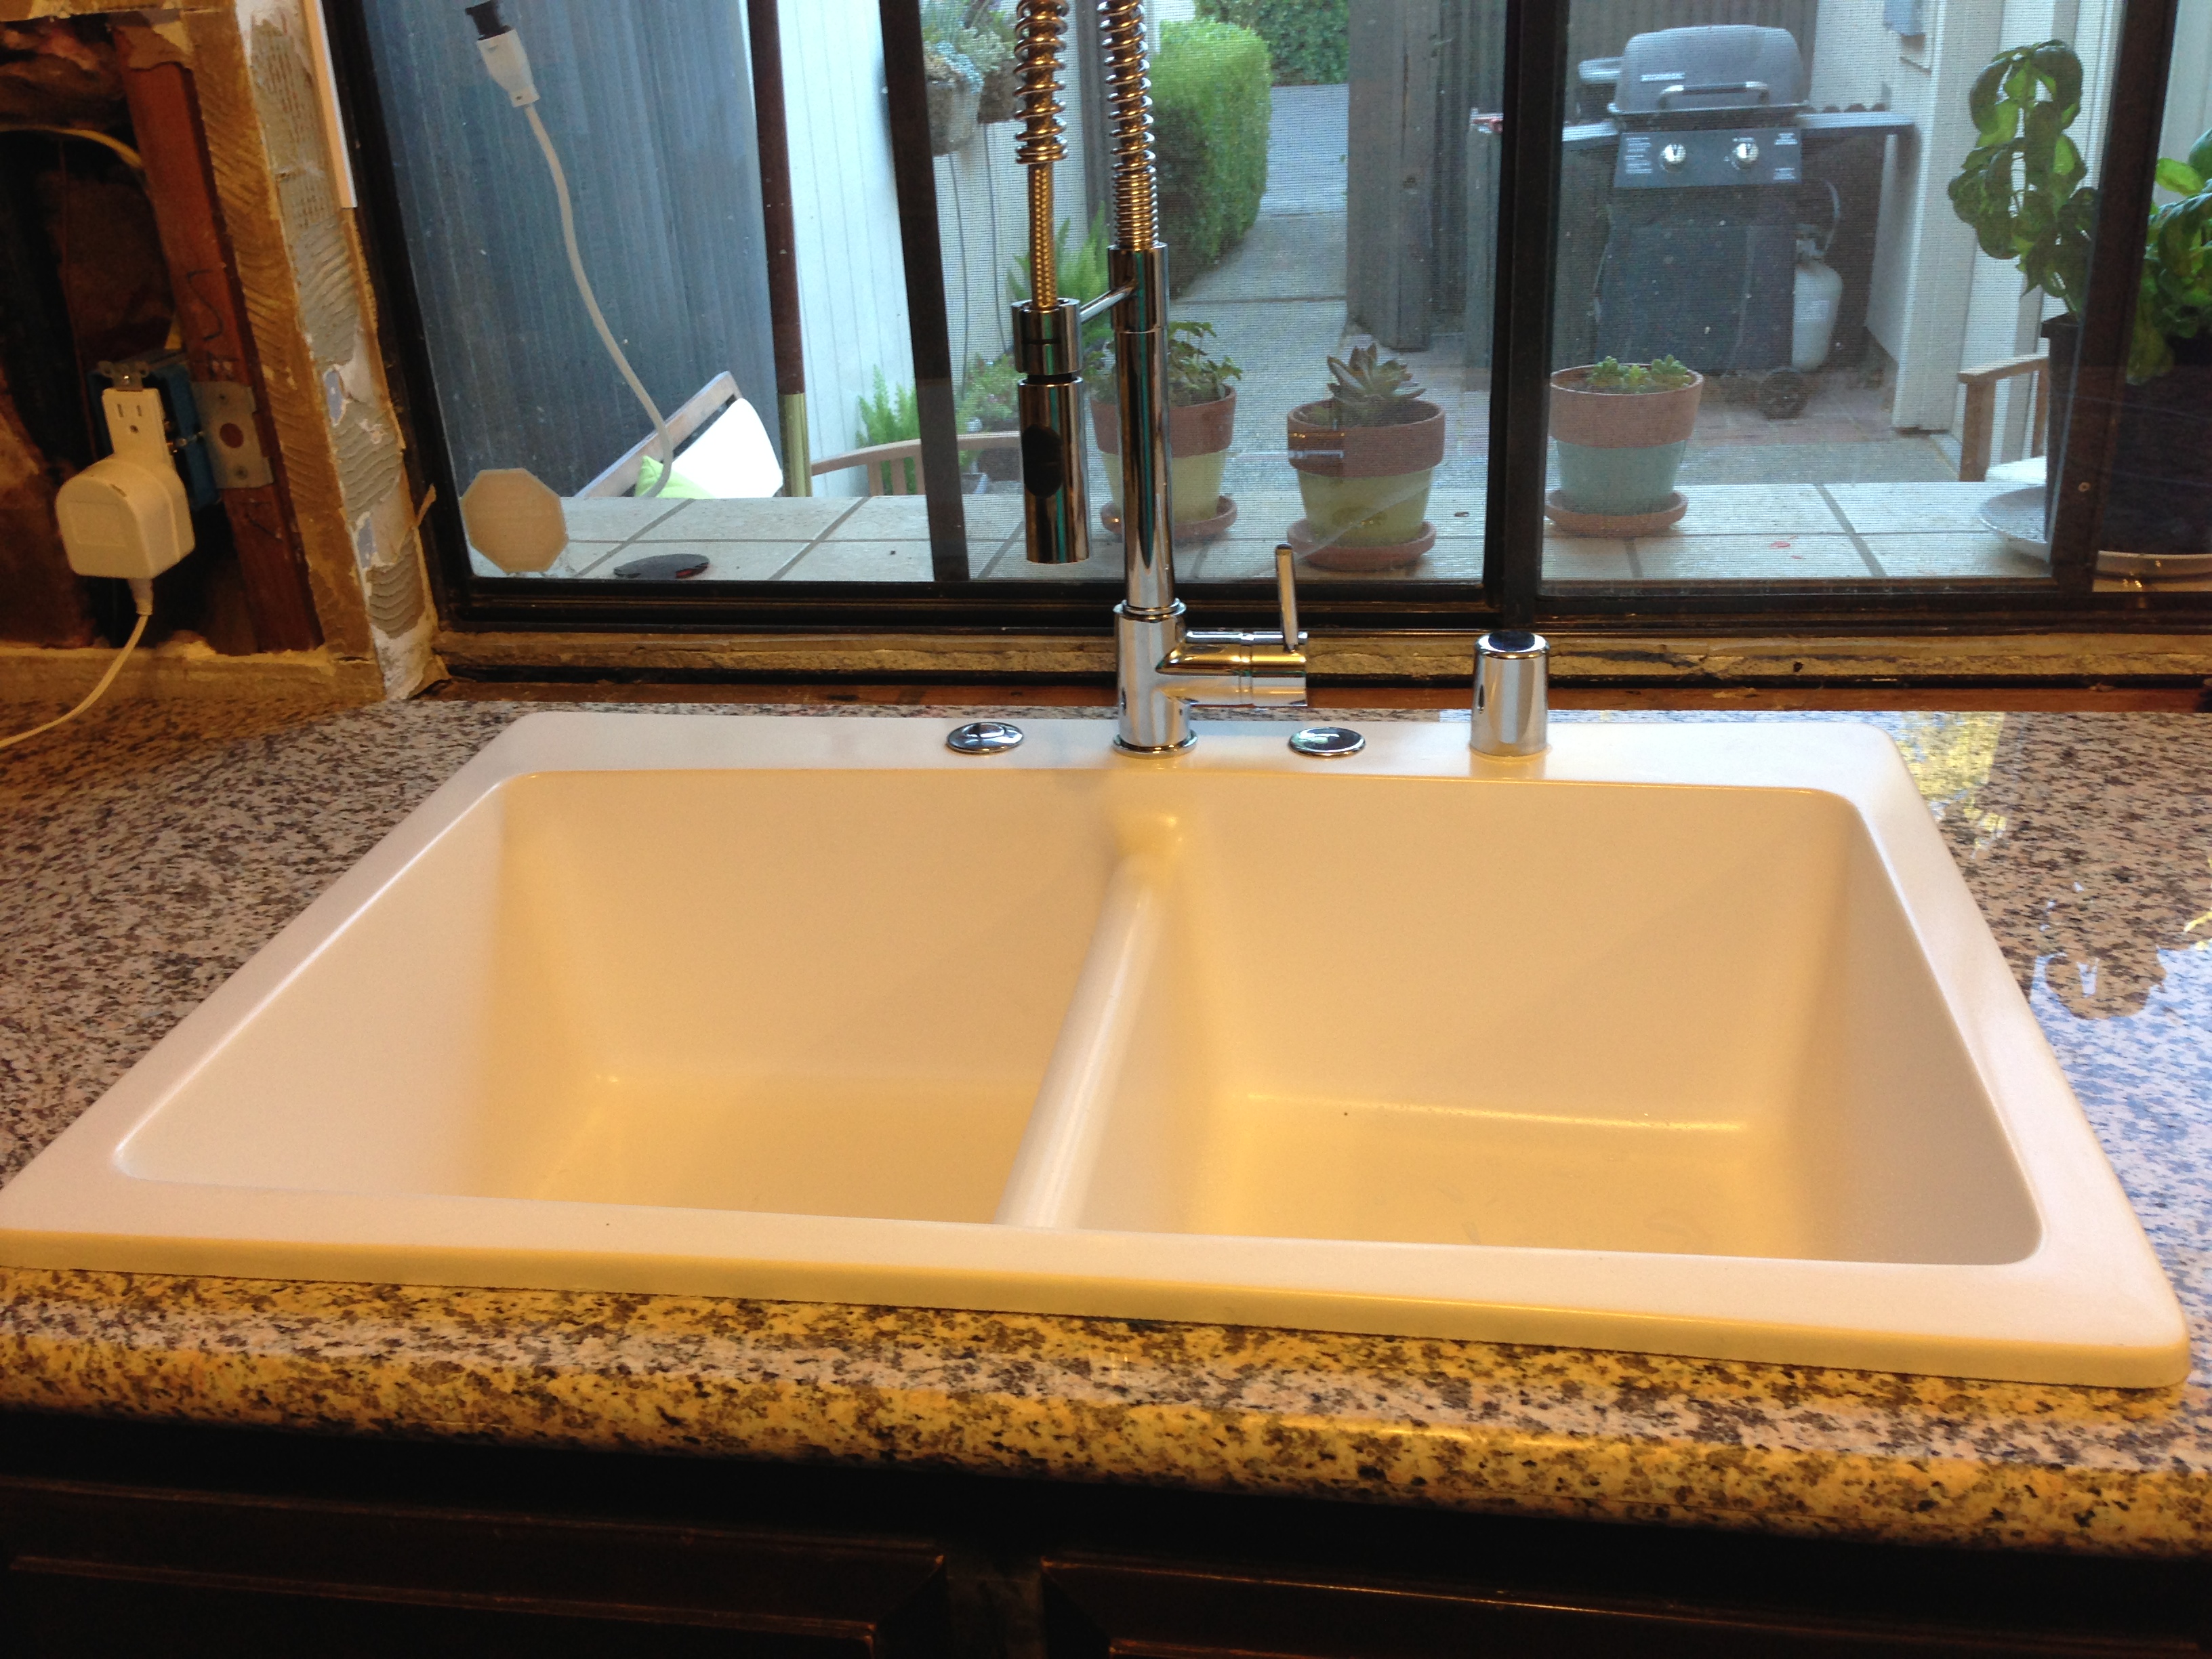
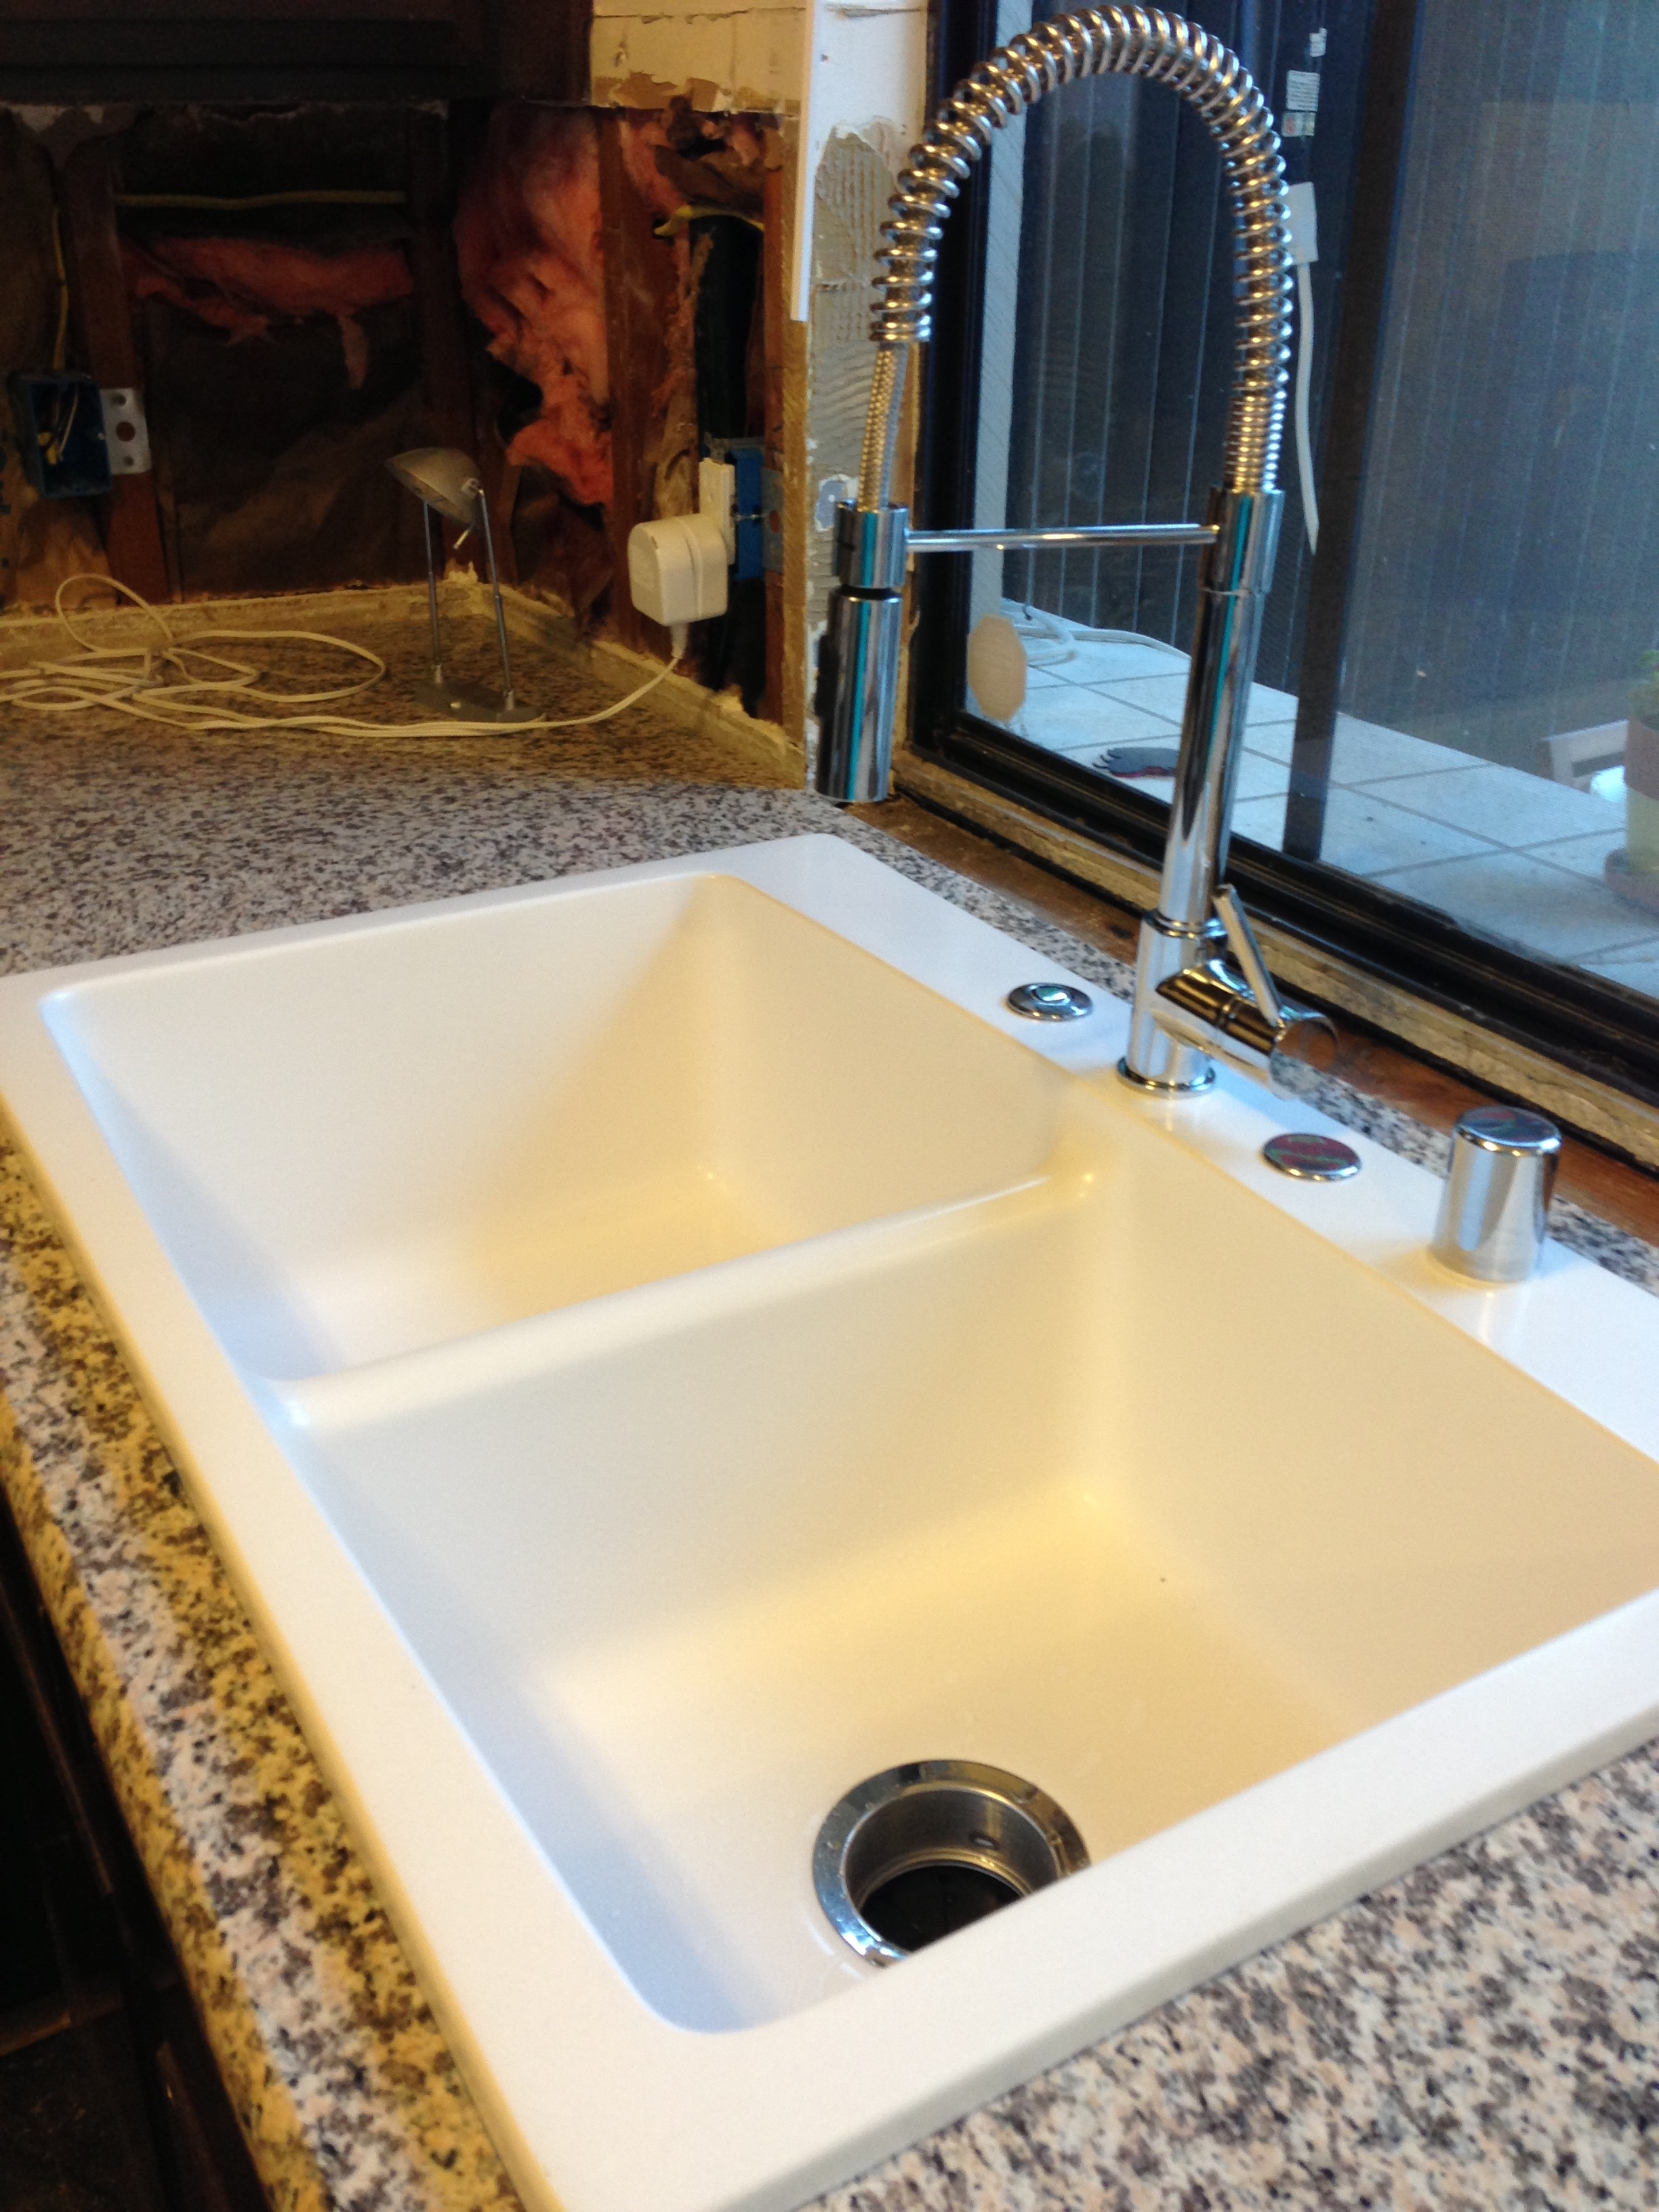
As you can see, I sort of bucked the under-mount stainless sink trend that has taken the design world by storm. There is a good reason for this. I really really really wanted an under-mount sink, but I really really really didn’t want to pay an extra $350 for the installation. After some convincing I realized that unlike my beautiful friend Kaylene and her picture of perfection family, my household of one was pretty low use on the kitchen front. Was it worth it for me to pay the money for an under-mount sink when I have so much control over what happens? Probably not. Now that I had resigned myself to a top-mount, I had to find the perfect sink.
While shopping I really disliked the look of the stainless top-mount sinks. The visible edges were unattractive and frankly I despise the water spots that constantly seem to appear on the sink itself. That didn’t leave me with too many options until I found the granite composite sink that I ended up purchasing. Ah, so much to love. I love the fact it is not a shiny white sink, in fact it is a matte white with a little bit of sparkle (and those who know me know I DIE for sparkle). I also love that it is more geometric… not so rounded and pretty. It’s bold. It makes a statement, And partnered with the industrial pull down faucet? Perfection.
I’m pretty happy with my deicision to go with a top-mount sink, and in fact that $350 ended up buying not only my sink but also my faucet so I consider it money saved!
To the left of the faucet we also installed an air switch. A much nicer alternative to a standard wall switch to turn on the garbage disposal. It is costly ($60) but I like the added safety of not having to touch a switch with wet hands, but I like that it frees up the space on the wall for outlets.
With all of that being said, I do have to give a shout out to my other silent partner in this reno project… My Interior DesignMom. I like to joke around and call our relationship design (me) – review (DesignMom), but she does deserve credit for pushing me out of my comfort zone and introducing me to a different esthetic. In fact she is the one who so vehemently convinced me to go top-mount in the first place, so between my HandyDad and DesignMom I consider myself a pretty lucky homeowner! Next up (or in)? Hopefully my new hardwood floors this week!


