While I’m away, the tile guy came to play!

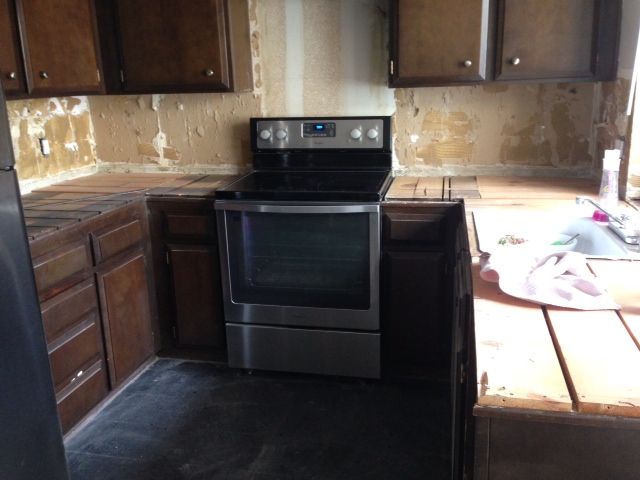
You read that correctly!  This girl is finally the owner of a kitchen with backsplash!!!  While in the South picking up some Southern hospitality, Matt the amazing tile guy was hard at work putting in the last of the big installations in the kitchen!  It’s amazing how great it looks, and how much it now looks like an actual kitchen!!  Not only was the tile installed but HandyDad also installed the over the range microwave!  It’s all starting to come together… 🙂

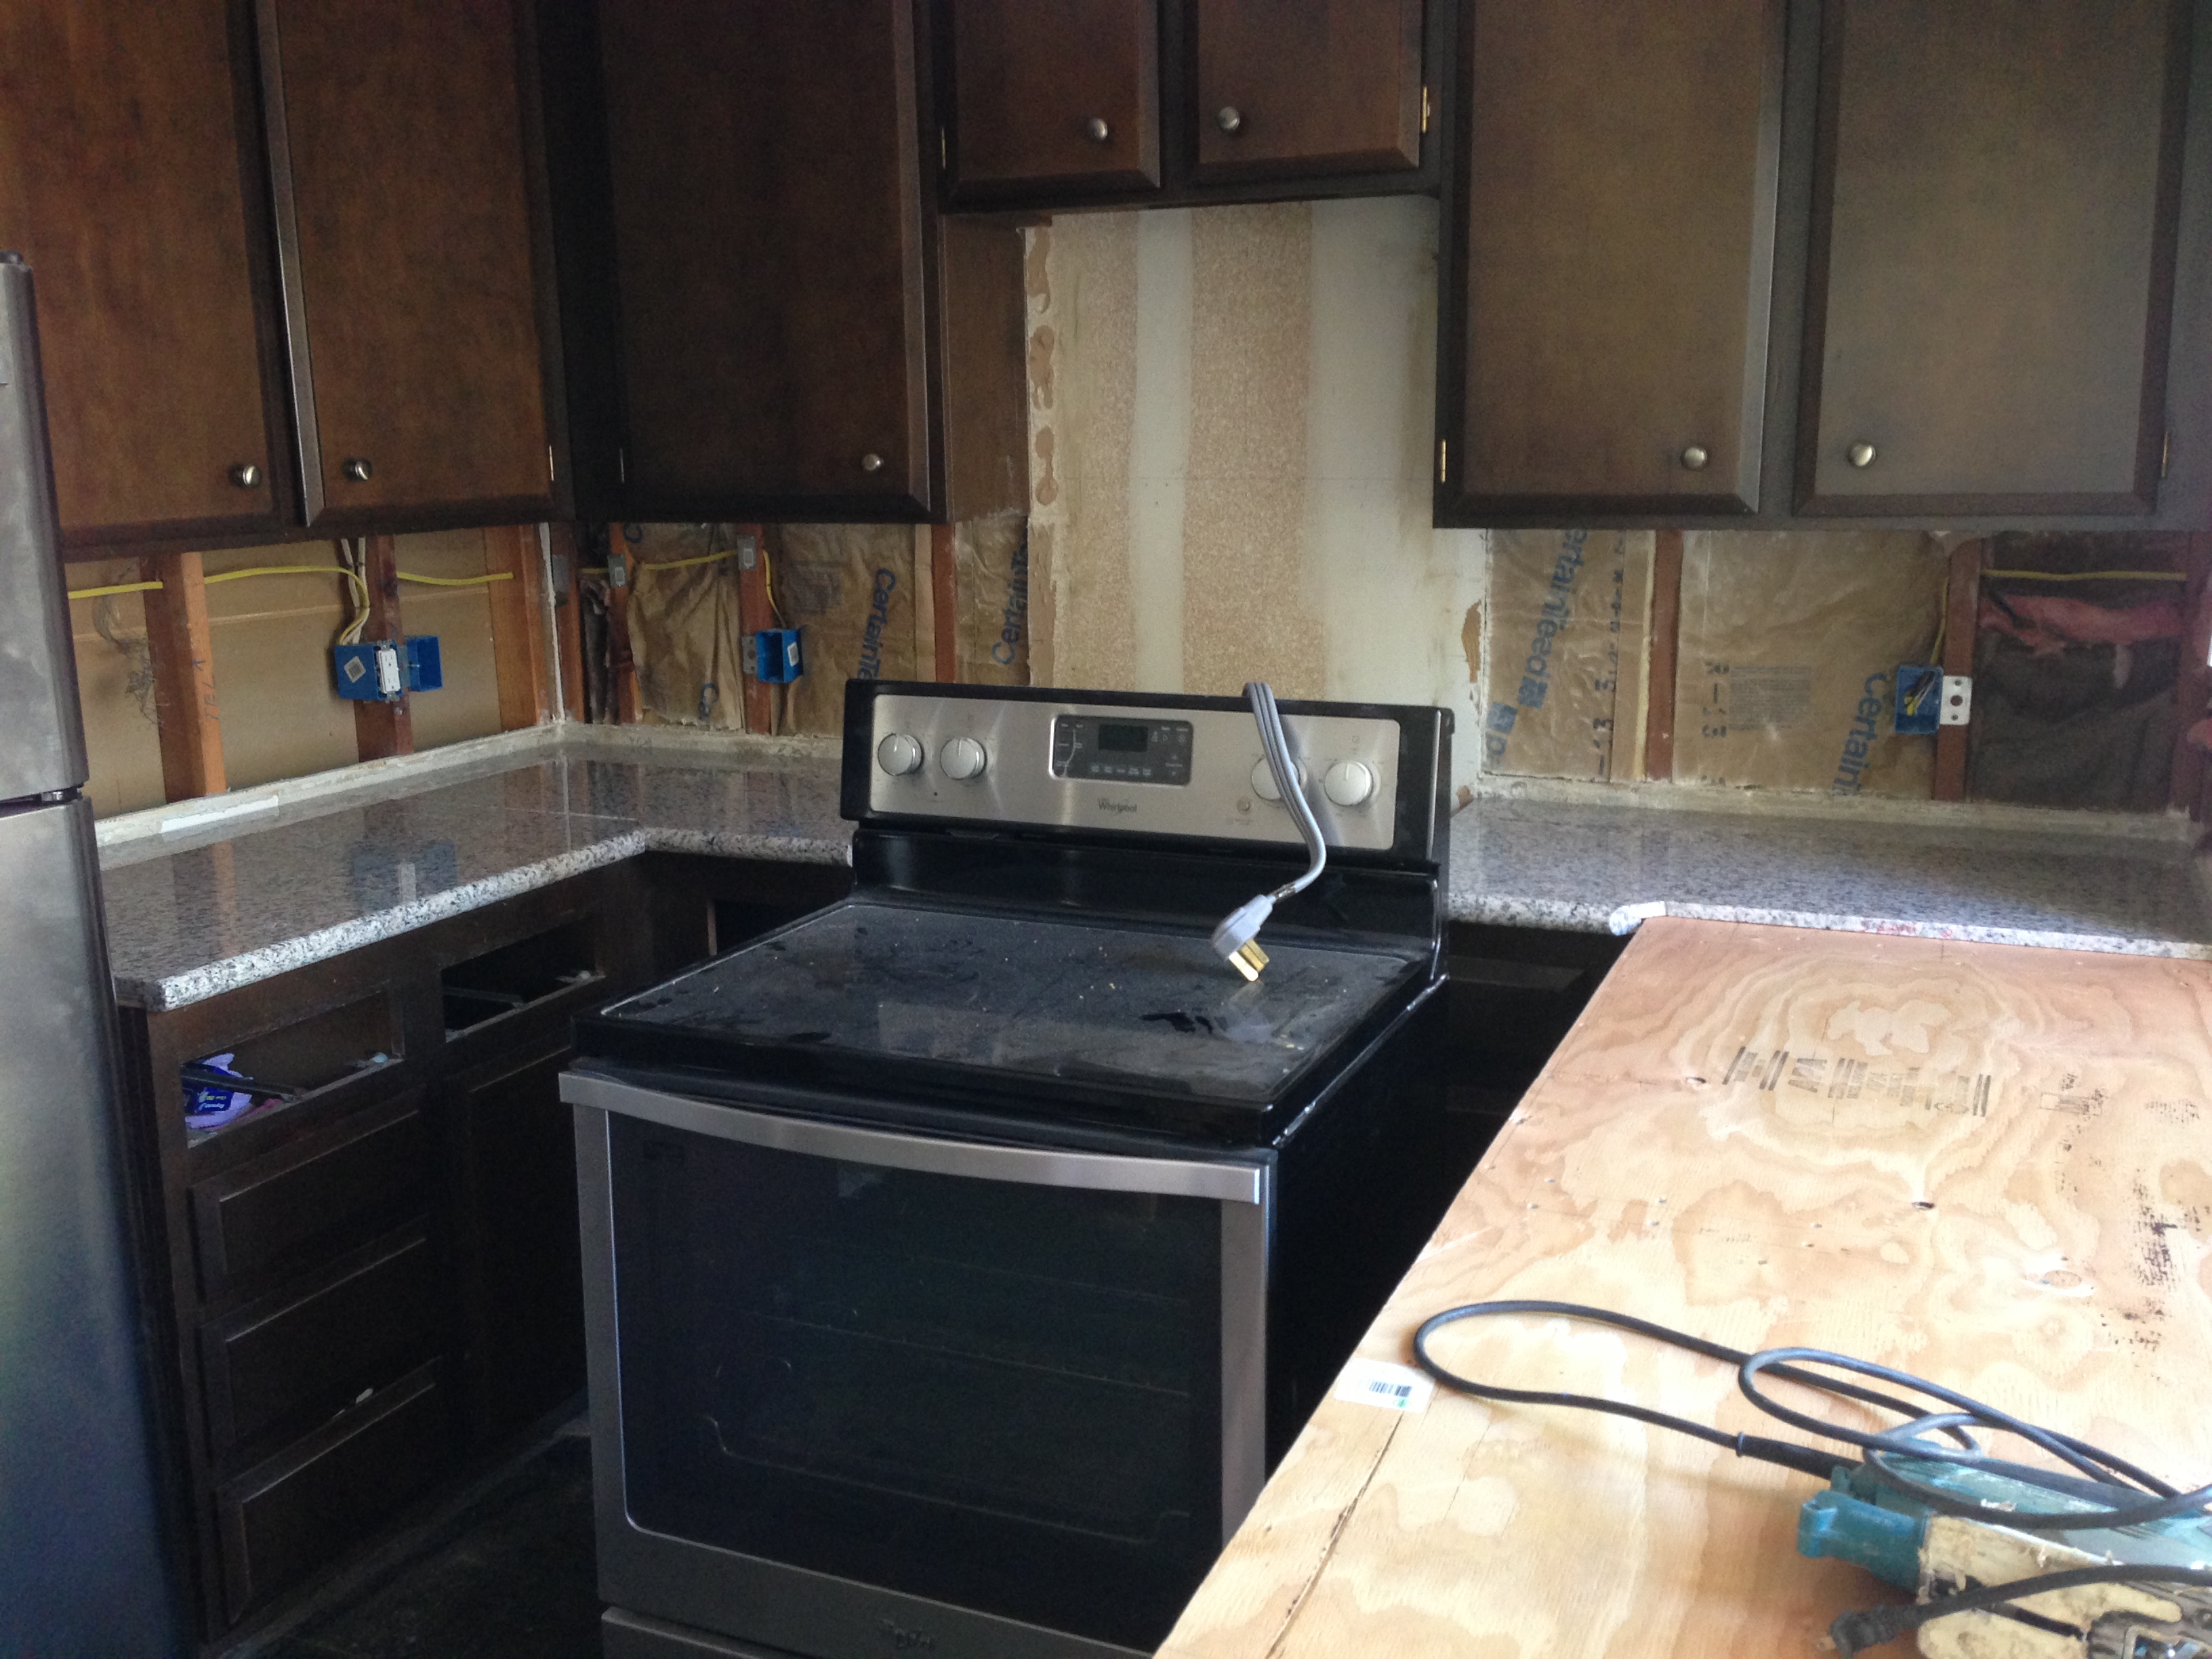
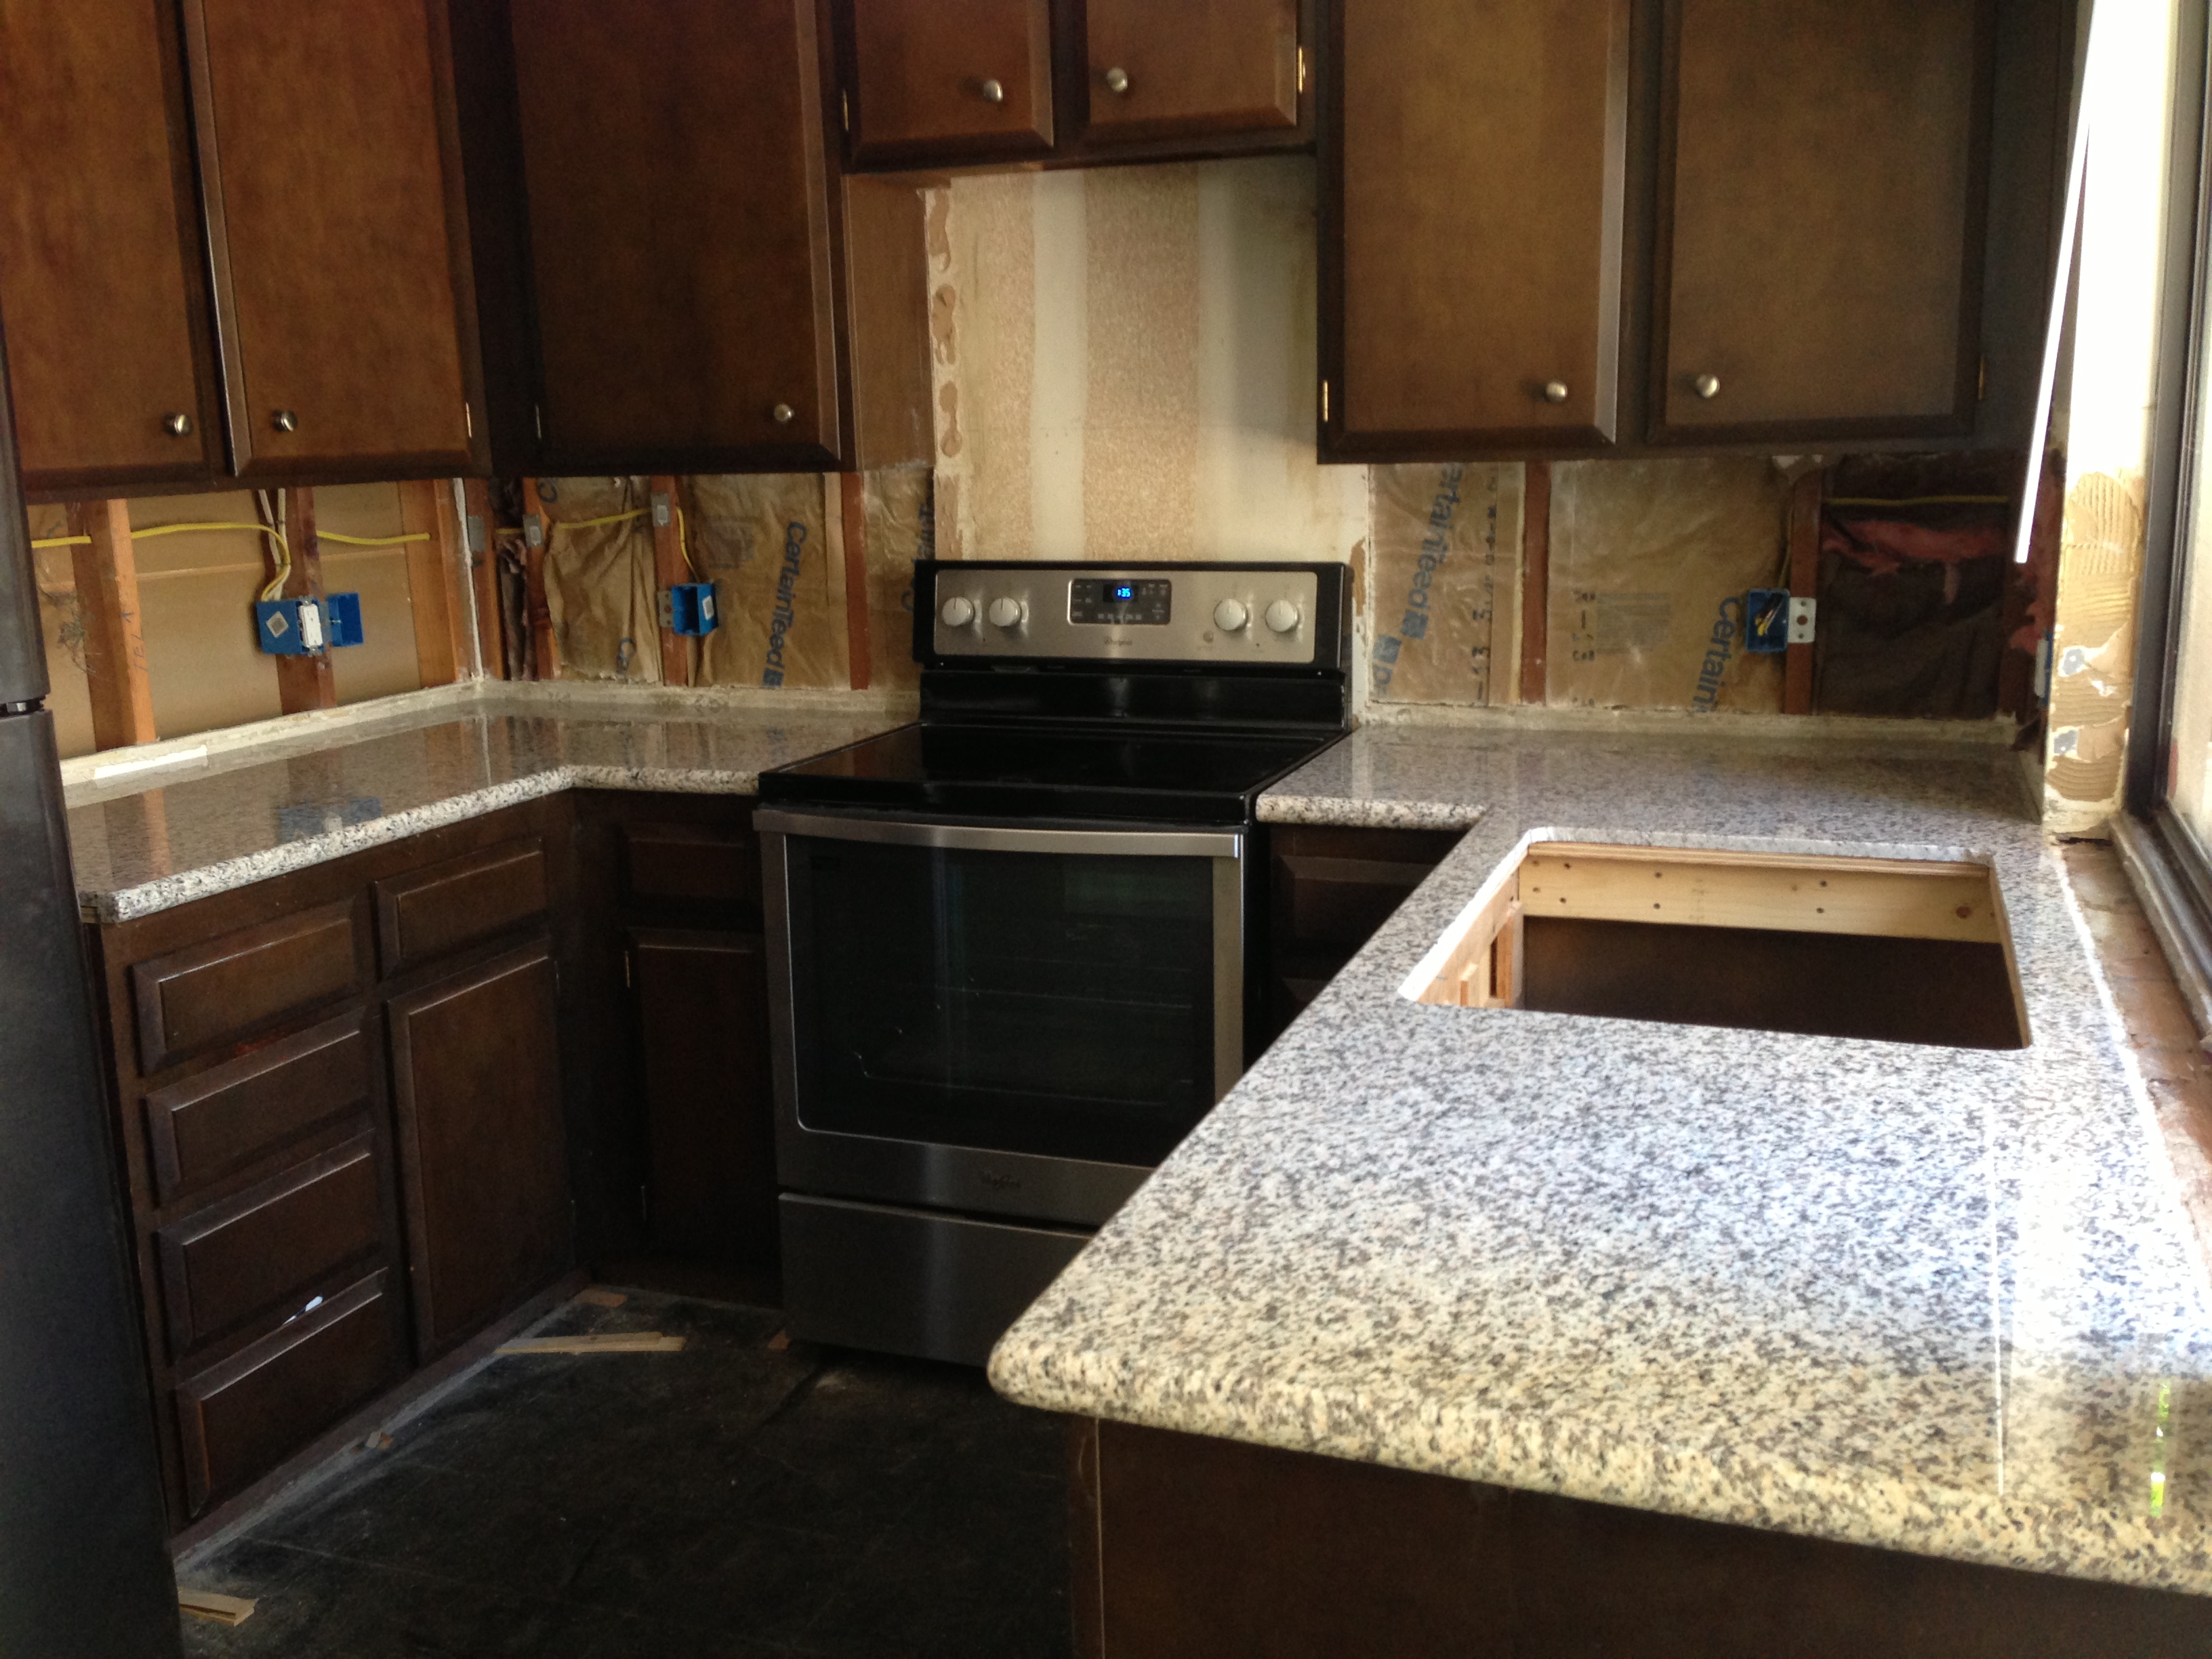
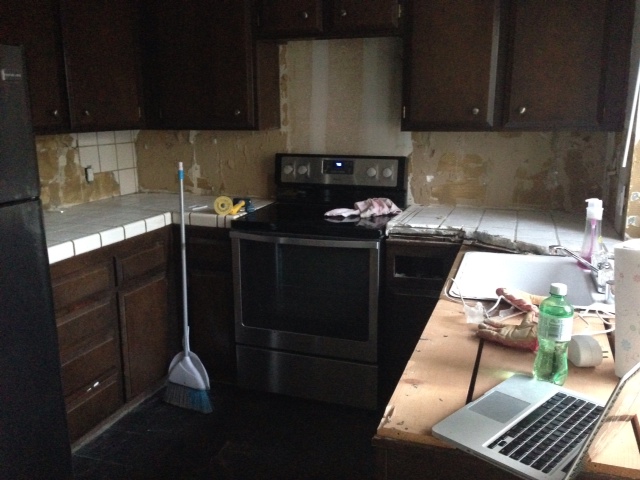
You may notice a few things… namely the GIANT power strip oddly hanging from the cabinet above the microwave!  In 1972 when they installed double ovens they didn’t have much of a need for an additional outlet for over the range microwaves!  A few month back HandyDad and I pulled the line for the power but have yet to connect it to the box.  In the meantime it’s installed and working, albeit in a crude, unattractive way.  That should be fixed ASAP!

In addition there aren’t any outlet covers or many receptacles installed.  While researching  options I noticed that there are a few companies that make not only stainless steel covers but also stainless finish receptacles, so I think I will head in that direction!

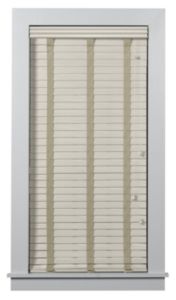
In other exciting news, I am taking delivery of my Restoration Hardware light fixtures and my new blinds tomorrow!!  I’m hoping to have those up this weekend which will bring my to-do list to just a few finishing touches!  This Renolista can barely contain her excitement!!!!


Ch-ch-changes!

It may seem like I’ve fallen off the renovation planet, but in fact I have been hard at work putting some finishing touches together to wrap up my kitchen project!  The biggest change was the installation of drywall on the walls where formerly stood nothing but studs!

With the installation of the drywall that means I am ready for BACKSPLASH!!!  In fact I am having them installed on Thursday with the supervision of DesignMom!  I am so so so excited!  Behold:

kitchen close up backsplash white subway tiles dark grey grout open shelving shelves marble countertops white cabinets

I think it should look AMAZING when it is done!  I love the simplicity of the white subway tile.  It’s classic, clean and most importantly it is timeless.  I don’t want someone to be able to walk into this project a few years from now and be able to pin the date of the remodel based on my finishes.  Talk about a Renolista’s worst nightmare!

In addition I also spent some time ordering window coverings which I blogged about earlier in the process.  I finally decided on a color combination I think will fit in nicely…

99629_22172_21052

The last bit of my shopping spree included a rather…. spendy purchase.  This Renolista is the proud owner of some new Restoration Hardware light fixtures!  Not only did I purchase a few for the kitchen, but I also picked up a fixture for my patio.  If I’m already spending the money on shipping I may as well indulge, right??  I LOVE the look of exposed filament bulbs and the industrial minimal look will fit right in with the rest of the design (according to DesignMom that is… )

For the kitchen:

prod2460106

And for the backyard:

prod1509148_F11

Once the backsplash is up I will finally be able to install the over the range microwave and the project will be close to completion!  This reno has been so much fun, so much work but overall the most rewarding part of my home buying experience!  I can’t wait to see the end product!!  My updated list of things to complete after the installation of my recent purchases, backsplash and microwave:

  1. finish the toe kick
  2. install new base
  3. finish patio door surround
  4. replace cabinet pulls
  5. refinish cabinets with wear
  6. paint and decorate!

Alas, the day has come!

This Renolista is the proud owner of new granite countertops!  Much to my surprise the installation crew showed up to my house a whole 10 minutes before my scheduled installation time… something that never happens!  They were presented with the finished product from last weekend:

IMG_3638

It took about 6 hours to complete the leveling of the cabinets… and only resulted in one neighbor asking about the noise.  HandyDad FTW!  He was paid handsomely in margaritas… something the renolista enjoyed one too many of as well… I digress!

Drum roll please!!!!

IMG_3653

IMG_3656

IMG_3657

Ah yes, working from home has never made me feel more accomplished!  You may notice I’m still lacking in floors… walls… and a backsplash but that is on the way!  You might also notice that the countertops don’t come all the way up to the window either, and there’s a reason for that!  We decided to create a differentiation in height from the countertops and build a bit of a lip.  We will then tile it with the same subway tile that I will be using for my backsplash.  At this point I’m thinking this is the direction I will be going for the backsplash:

white-subway-backsplash

Thoughts?  I’m planning a tight set and thought the darker grout would be a modern twist on an old standby.

However, before the excitement of the tile begins we will still need to install my new sink, faucet, garbage disposal and air gap!  Never in my life did I think that I would be excited about a sink.  I also got a special delivery as the installers were here:

IMG_3659

IMG_3660

Those would be my hardwood floors!  Between floors and countertops there is just too much excitement for one day!  I’m hoping to have the floors installed next week…  Fingers crossed!  Now that I have both the countertops and the flooring in the house I think the colors are going to work SO well with one another!  I’m planning on installing the sink etc. tomorrow to give the epoxy under the granite time to set.  I’ll post pictures once it’s done! 🙂

Quartz vs granite

I wanted quartz. In fact I really really REALLY wanted quartz.  What I didn’t want was the price.  The Silestone I picked out was an astonishing $80 per square foot and I just couldn’t justify the price. Even with 32 square feet of countertop space that added up to be way more than this Renolista wanted to spend.  I started out not wanting granite because it was expected.  EVERYONE has granite countertops.  It wasn’t something that would help my house stand out when I decide to move on to my next project, but in the end the price won me over and I decided on some very nice granite countertops.  After spending a few weeks researching and gathering samples I found a screaming deal on some prefab granite slabs at the Home Depot.  The color was great and matched my new flooring perfectly!  The countertops ended up being $35 per square foot PLUS and extra 10% off.  This included installation and tax, and with the help of a Home Depot gift card I ended up spending less than $1100 for both the countertops and sink!  I promptly made my way to the Home Depot to order them which meant only one thing… more demo.

Image

Image

You can see my laptop there… Blurred Lines and Strawberry Bubblegum made this demo process much more fun… now only if JT could actually HELP me, I’d be in heaven!  I digress.  This is the end product:

Image

This is how my kitchen looks at this exact second.  I joke that I’m going for a rustic log cabin look, but in fact it’s miserable.  This Renolista has OCD which doesn’t allow her to enjoy the dust on every meal cooked, or the lack of space to even prep a meal.  If these countertops don’t get installed soon I am not sure how I will live!  If only I knew about these things when I started the remodel… it’s the “joy” of reno, right?

I have gone ahead and picked out not only the granite, but also the sink and faucet to accompany the installation:

Image

ImageImage

All are very budget conscious but really pack the style.  The one thing I am not willing to compromise on is style for cost.  I need both.  This isn’t always easy, but so far patience and alot of shopping has sent me in the right direction!  The sink can be found at the Home Depot and is a granite composite at the bargain price of $149.  For the faucet it was really difficult to find something that caught my interest until I stumbled upon this beauty from Ikea and a great deal at only $99!  The countertop company should be out next week to template the kitchen for fabrication so I am anxiously awaiting the phone call like a kid on Christmas!  I can’t wait to have an actual kitchen again!!

Orange tile? No thanks!

I tried to like the orange tile floors that were installed in the entry way and kitchen of the new place, but I couldn’t.  I needed something modern and comfortable to stand on for long periods of time while I pretend to be Martha Stewart!  I made my way over to Waldo Bowers and decided on this BEAUTIFUL Provenza flooring for both the entry and the kitchen:

Image

The hardwood floors are oil treated so I know I will have some upkeep, but the color is just divine and really picks up the color of the carpet!  With the floors picked out, it was time to rip out the tile… and rip out I sure did!  This Renolista pulled out every tile with a crowbar and a sledgehammer.  All my tears, sweat, and even a little bit of blood went into making a racket and demoing this atrocious tile floor.

Image

And after chipping away at it (no pun intended) for a few weekend, I finally was left with the end product:

Image

Empty hall closet

Which is exactly how it sits today.  I’m still waiting for the floor to come in and for the installer to come out.  I may be able to demo, but you do not want me installing hardwood floors if you want it to look even remotely decent.  I am smart enough to leave some of the work to the pros!